Paper Chromatography

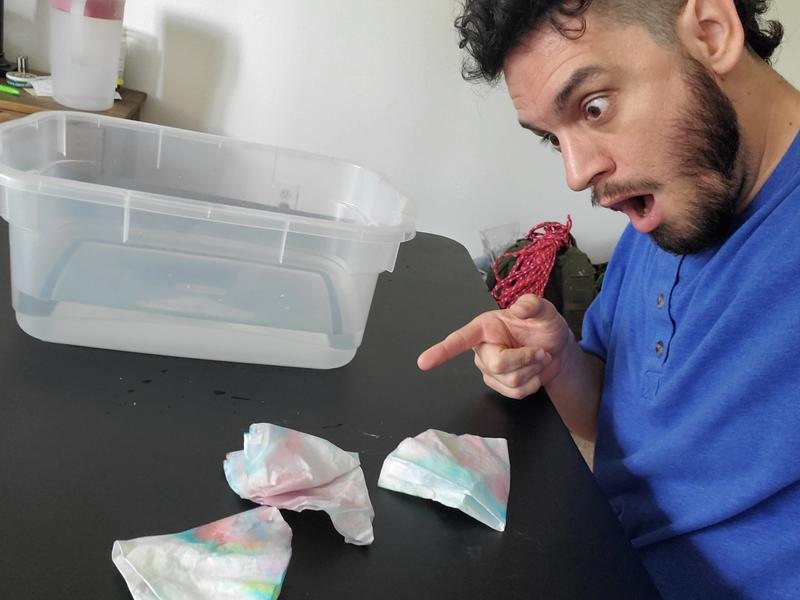
Ever wonder how to see the different colors used to create black ink? In this activity, we will separate the colors used to make black ink using a piece of paper!
- Black marker
- Paper clip
- Filter paper: coffee filter, paper towel, tissue paper
- Water
- Cut the filter paper of choice into rectangular pieces. The best size will fit into your cup without touching the inner sides of the cup.
- Using a black marker, place a dot or black line on the filter paper approximately 1 inch from the bottom of the string.
- Gently place the filter paper in the water. The sample dot/line should be above the water, not touching the water directly.
- Clip or tape the top end of the filter paper to the side of the cup.
- Wait one to two minutes for the ink to separate into different colors.
- Gently take out the filter paper and place it on a dry paper towel
While we think of water as something essential for life; water does a fantastic job at dissolving things, like salt and sugar. Any liquid that can dissolve things is called a solvent, and water is considered the universal solvent.
Many black inks are a combination of different colored inks, but not all black inks are made the same way. While water can dissolve the black inks, we need paper to more clearly separate the different colored inks. While the water is travelling up the paper, the black ink will dissolve and separate to more of its constituent colors.
1. Try out different colored makers to see a rainbow of results.
2. Try out different papers, just be sure to ask permission.
3. Is blue (or any other color) just blue, or is it made up of different colors?
4. You may find that some colored makers won’t separate, no matter how long you live it in the water. Why do you think that is?
5. Have fun


